ThinkPad X1 Extreme Gen 3: Dual Boot Pop!_OS 20.04 LTS(Nvidia version) with Windows 10
I have been heavily using Ubuntu for the past few years, both for work and personal projects, and have become pretty comfortable with it. So when it comes to purchasing my next laptop, I had a hard time choosing the “perfect” Linux distro and proper specs for its installation.
There are too many reviews about the “Best Linux distros” each year(or even month) for “beginners”, “mainstream”, and “professionals” specifically and it’s just impossible stick to one when they are constatly updating and making releases with tweaks here and there. Initially I installed Ubuntu 18.04 LTS on my ThinkPad T series because it is just simply much easier to do all the college homework, which was a nice relief for a Linux newbie when the majority of your class were using MBP or even more “advanced” Linux options like Arch(debatable here :)). I went with the dual booting because the gaming/design has better support on Windows platform and it’s nice to keep one’s option open.
So after some research I landed on the Pop!_OS by System76. It is based on Ubuntu, but is NOT just a re-skinned Ubuntu, so it’s quick and easy for me to set up and use all the tools I’m familiar with(They actually wrote an article stating the problem(seems it’s asked too frequently), you can check it out here: Pop!_OS and Ubuntu: What’s the difference?). Another huge reason is that they specifically provide a Nvidia ISO, so it’s perfect for switching graphics and work with the Nvidia driver on the ThinkPad X1 Extreme.
NOTE: This article is only my personal experience and should not be used as the official guidline for Pop!_OS installation.
For more support, please check the official System76 website.
My ThinkPad X1 Extreme Gen 3 configuration:
Processor: Intel® Core™ i7-10850H CPU @ 2.70GHz × 12
Graphics: NVIDIA Corporation / GeForce GTX 1650 Ti with Max-Q Design/PCIe/SSE2
Screen: 4K
Memory: 32GB
Disk: 1TB
1. Create bootable USB stick
Download the Pop!_OS iso image(Nvidia version) from the System76 website. It’s a disk image with the OS and installer.
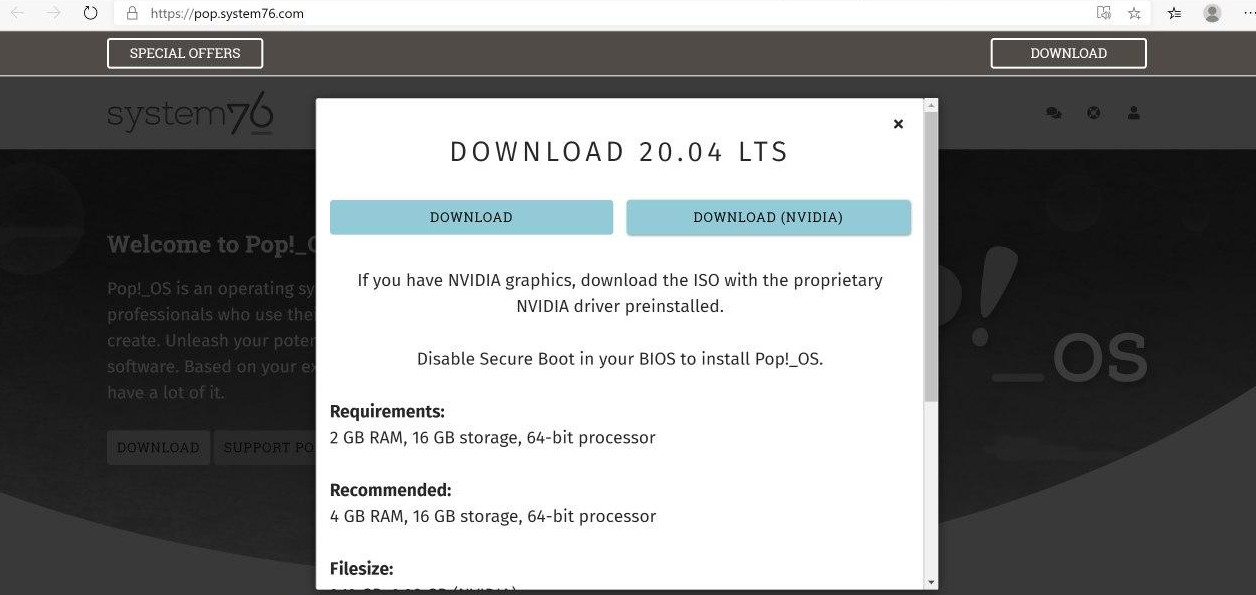
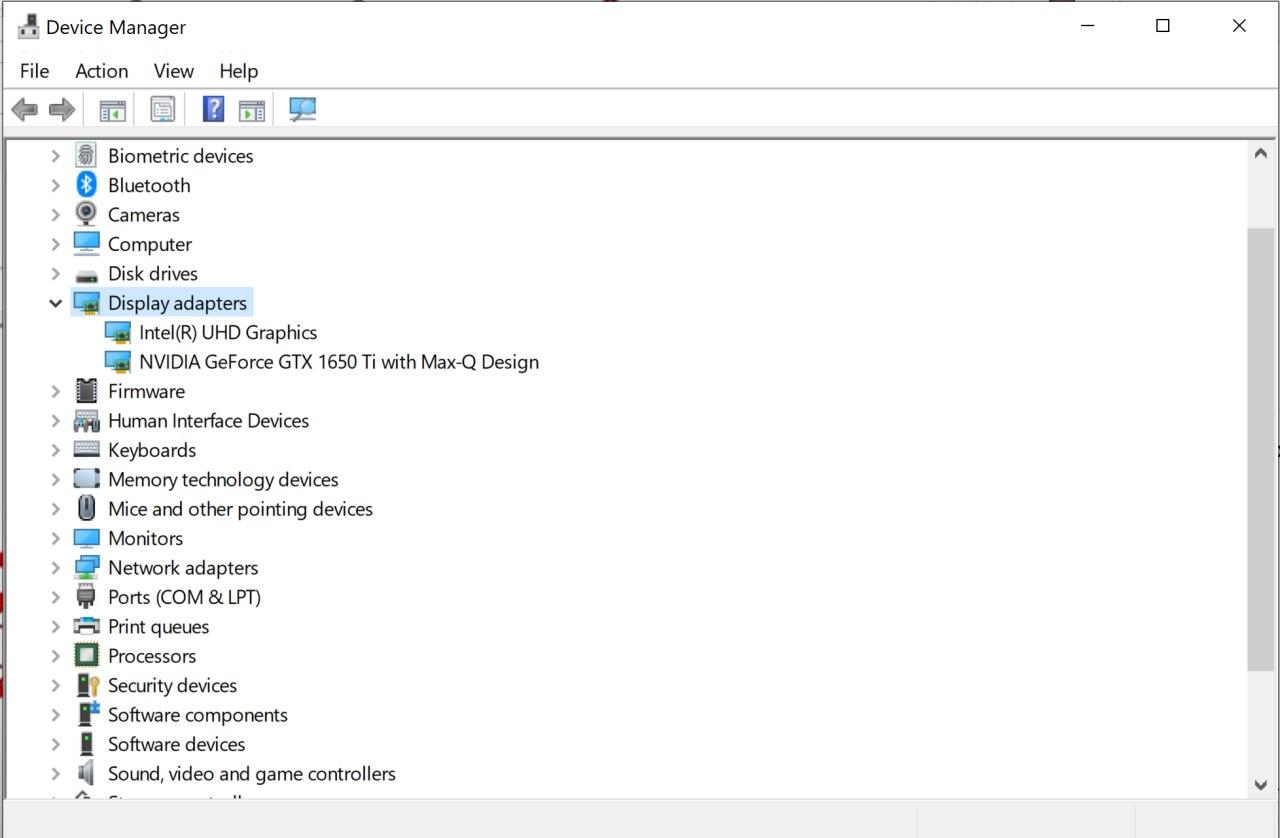
If you are not sure which Pop!_OS version to download, check the Display adapter in Device Manager. If there is “Nvidia” in the graphics, go with the Nvidia version.
To write the image to the flash drive, we need to use Etcher(for Windows, and there are multiple choices other than this).
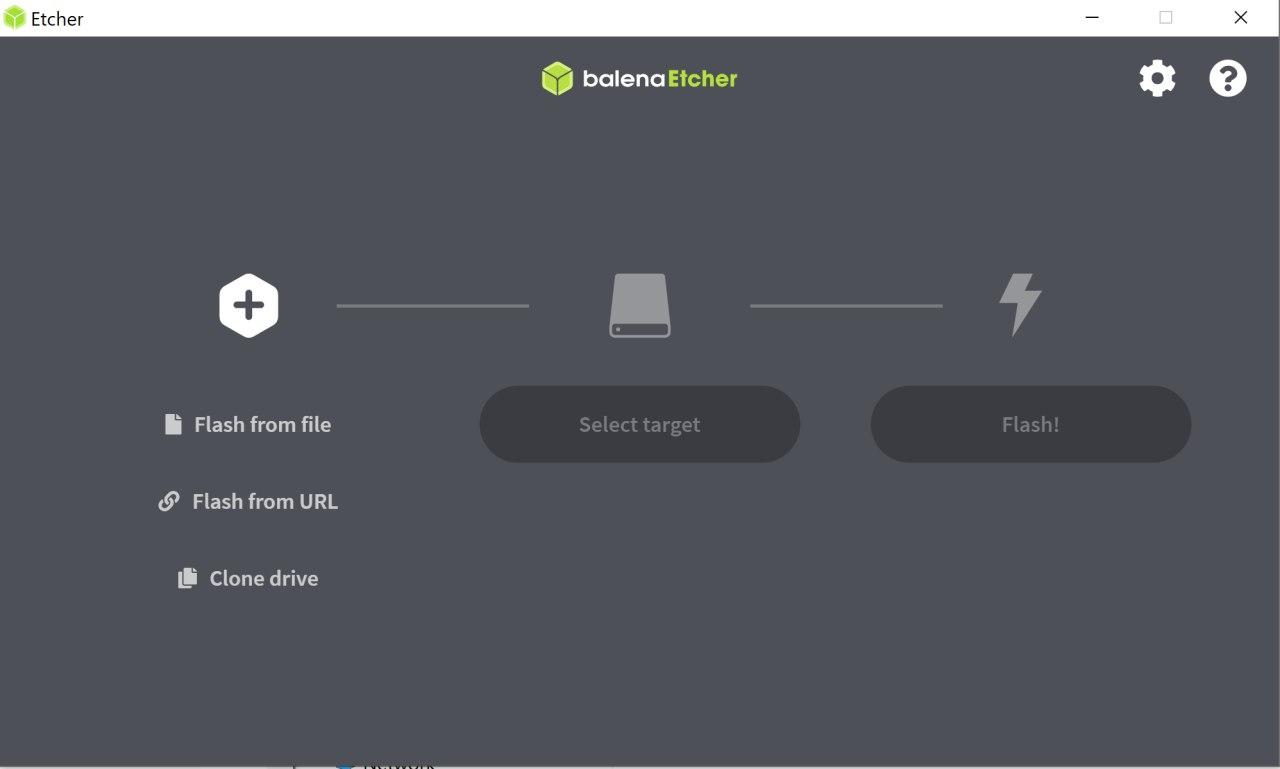

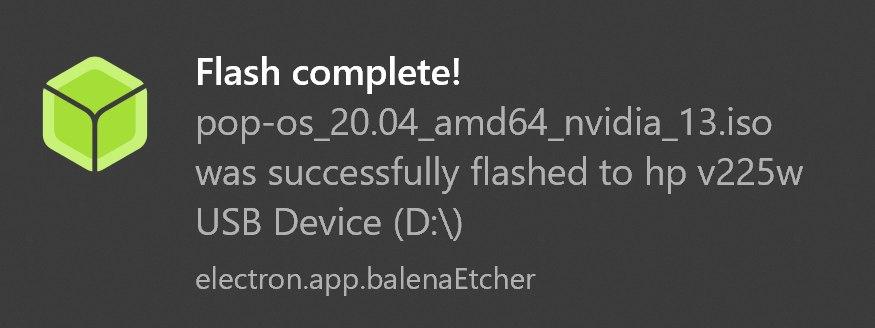
It should take a few mintues to complete. After the write is finished, close the Etcher tab.
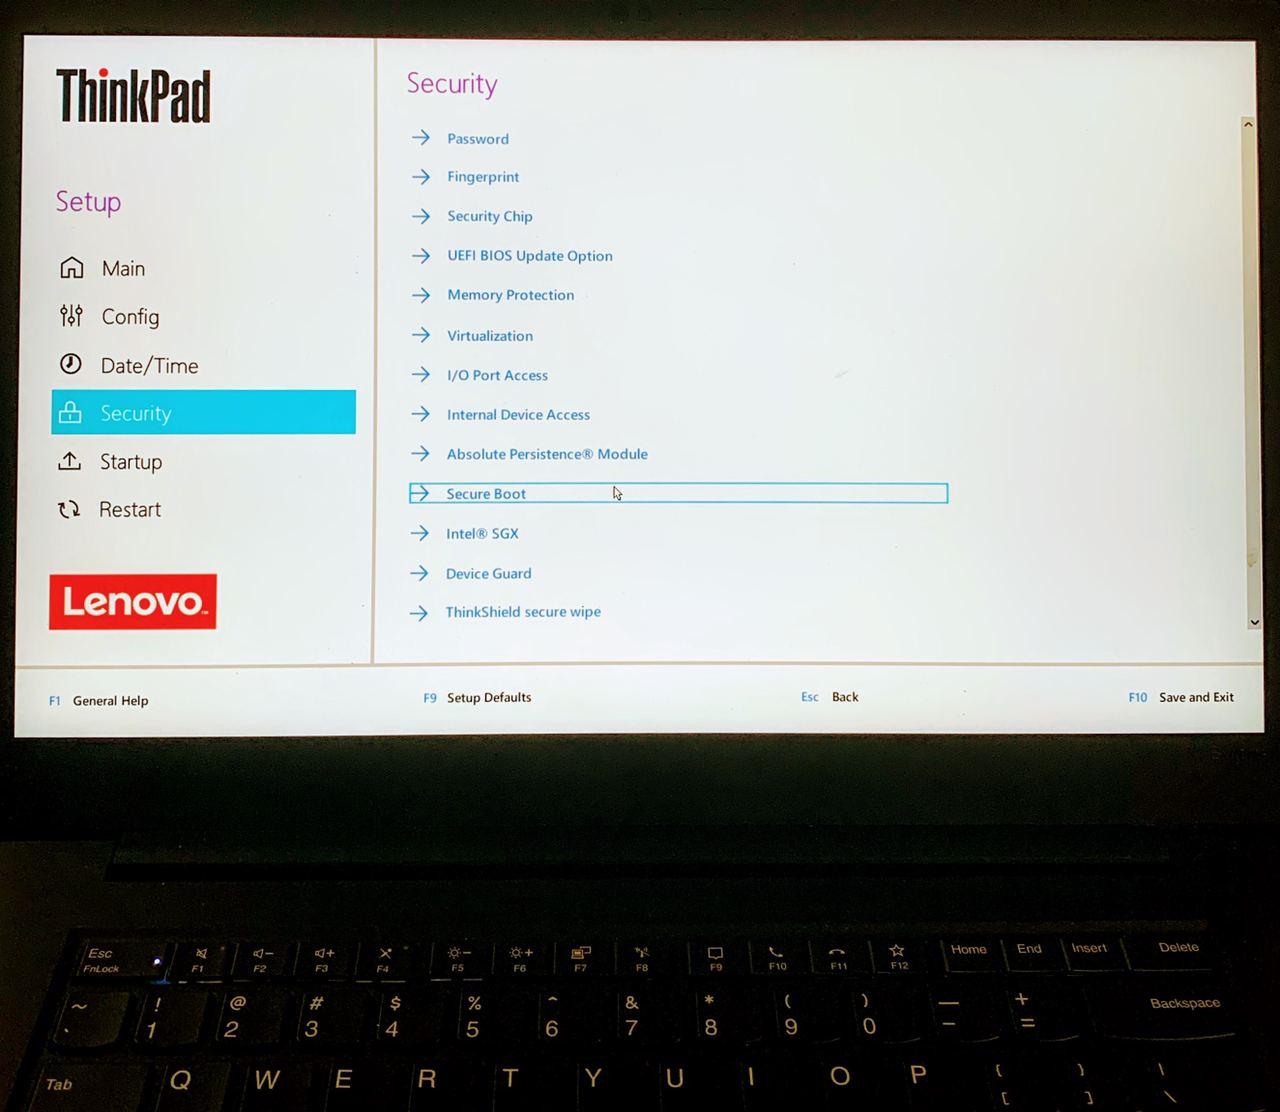
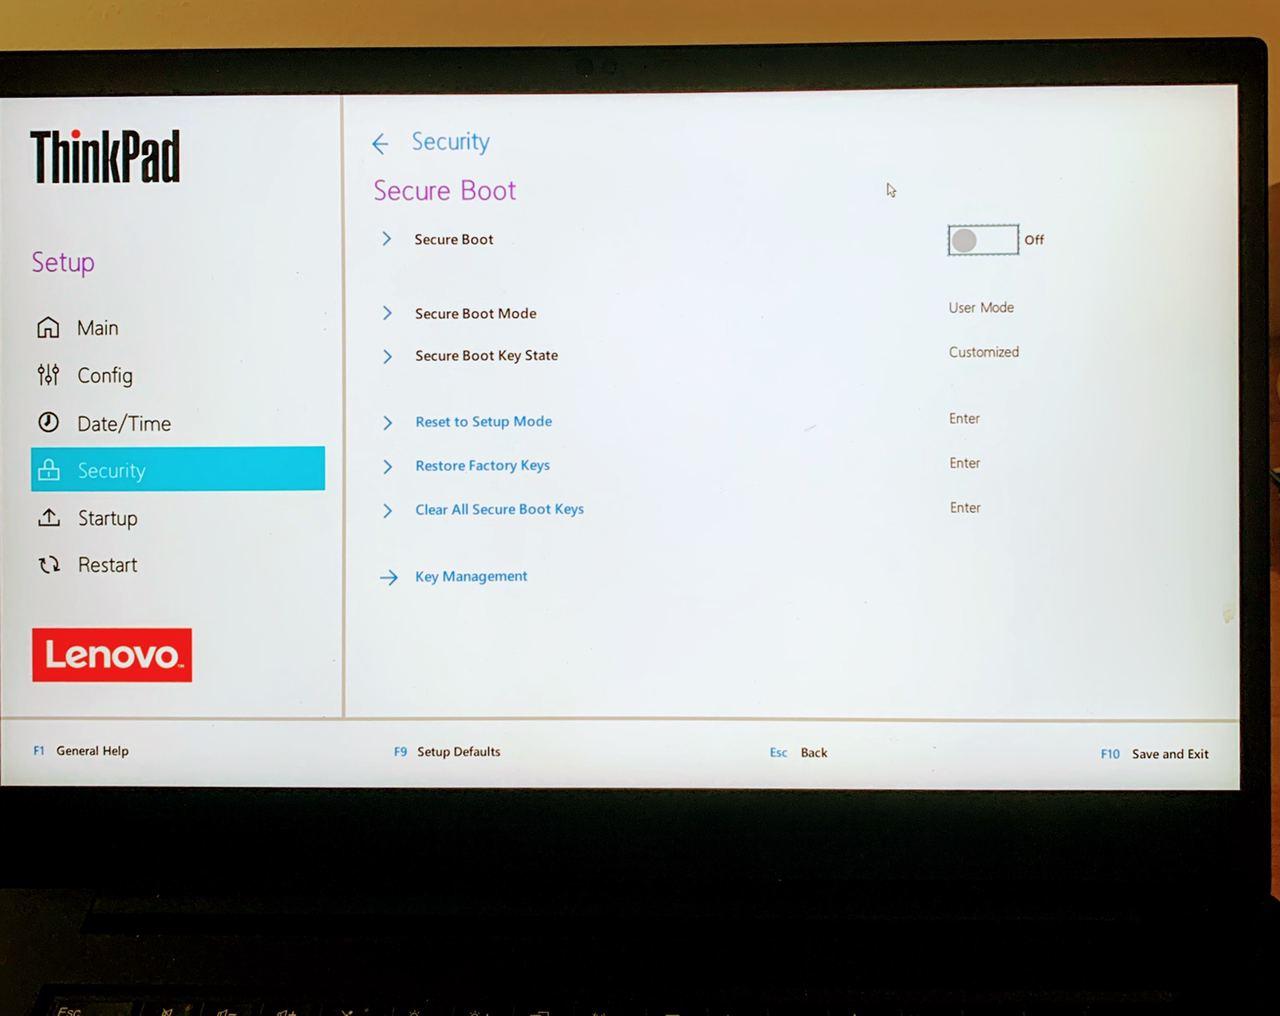
2. Disable secure boot
Restart the computer, when the red Lenovo sign shows up in the screen, press F12 to enter the boot menu(The key varies based on your laptop, please make sure you press the correct one). In the Setup/Security menu, disable Secure Boot.
3. Make partitions for Pop!_OS in the disk space
Open the Disk Management in Windows, right click the NTFS partition(As you can see, mine still has around 900GB free space. And Disk 1 is the USB stick I wrote the Pop!_OS iso to) to Shrink Volume. Personally, I split the space in half: 500GB for Windows 10 and 500GB for Pop!_OS. But whatever you do, make sure back up the data before the operation and be very careful when messing around the disk space.
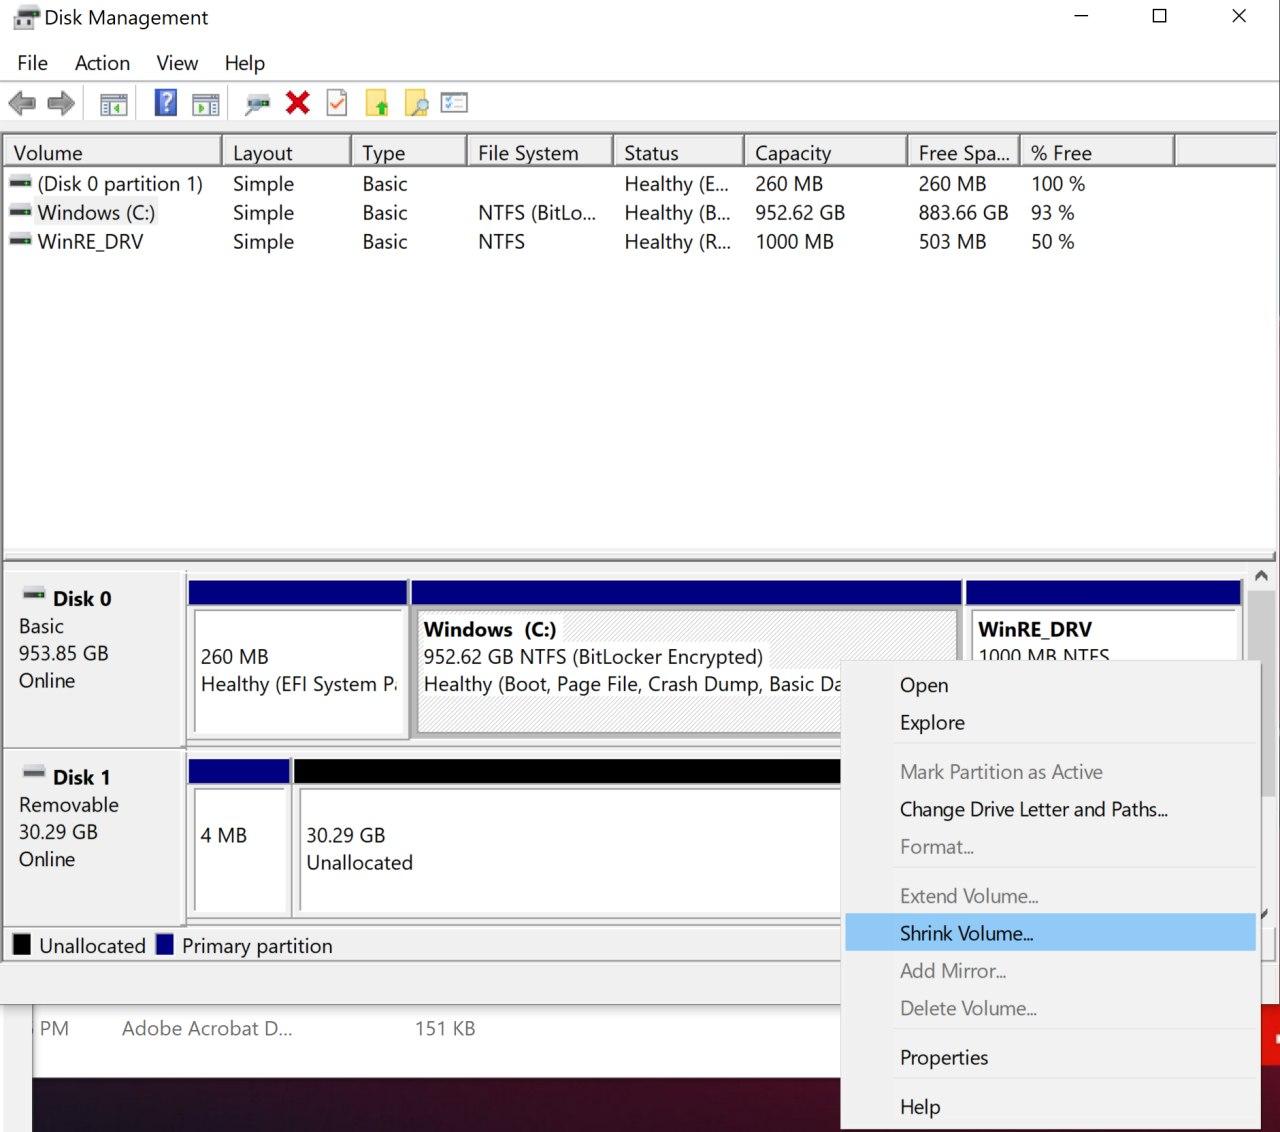
After the operation, the disk 0 looks like this:

4. Boot from live USB
Now we can start the installation. Restart the computer again, when the red sign shows up, press F12 again, and choose the USB stick. There should be a short period of ugly black screen with white output looking like this:
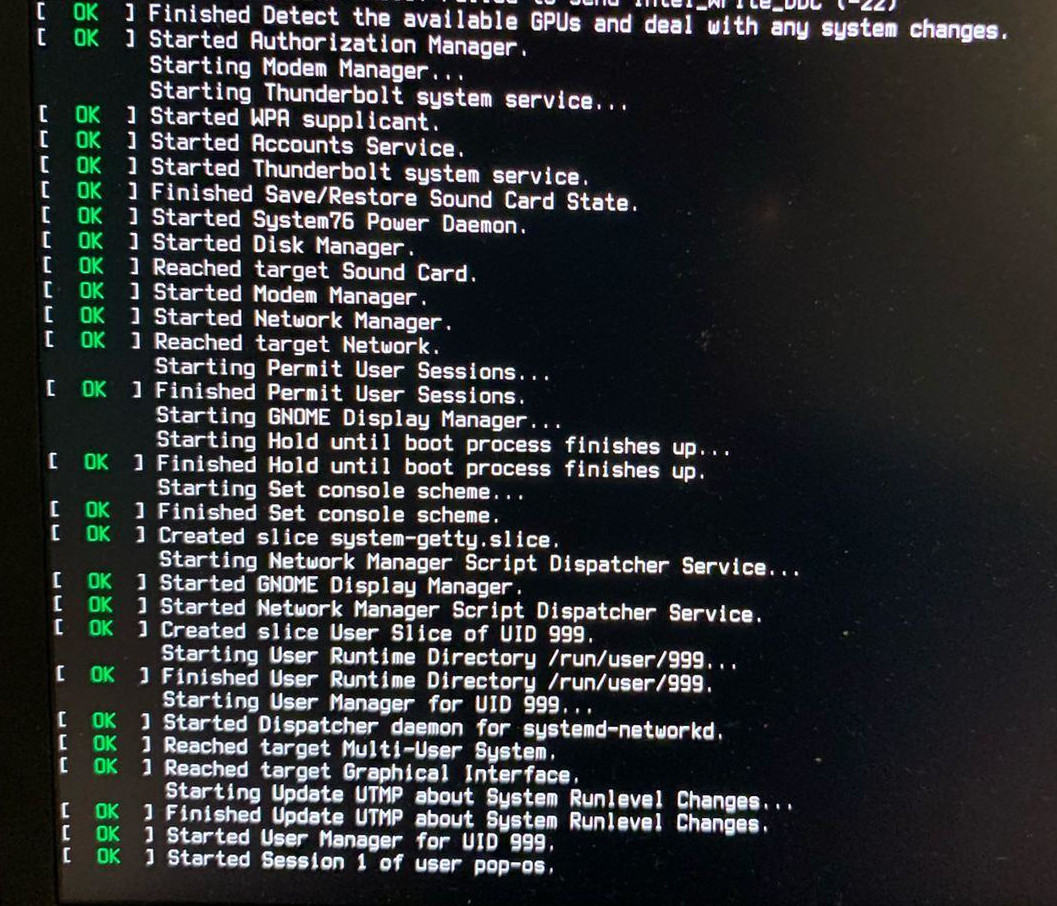
Then the Pop!_OS screen will show up, which means we have entered the live environment.
4.1. GParted
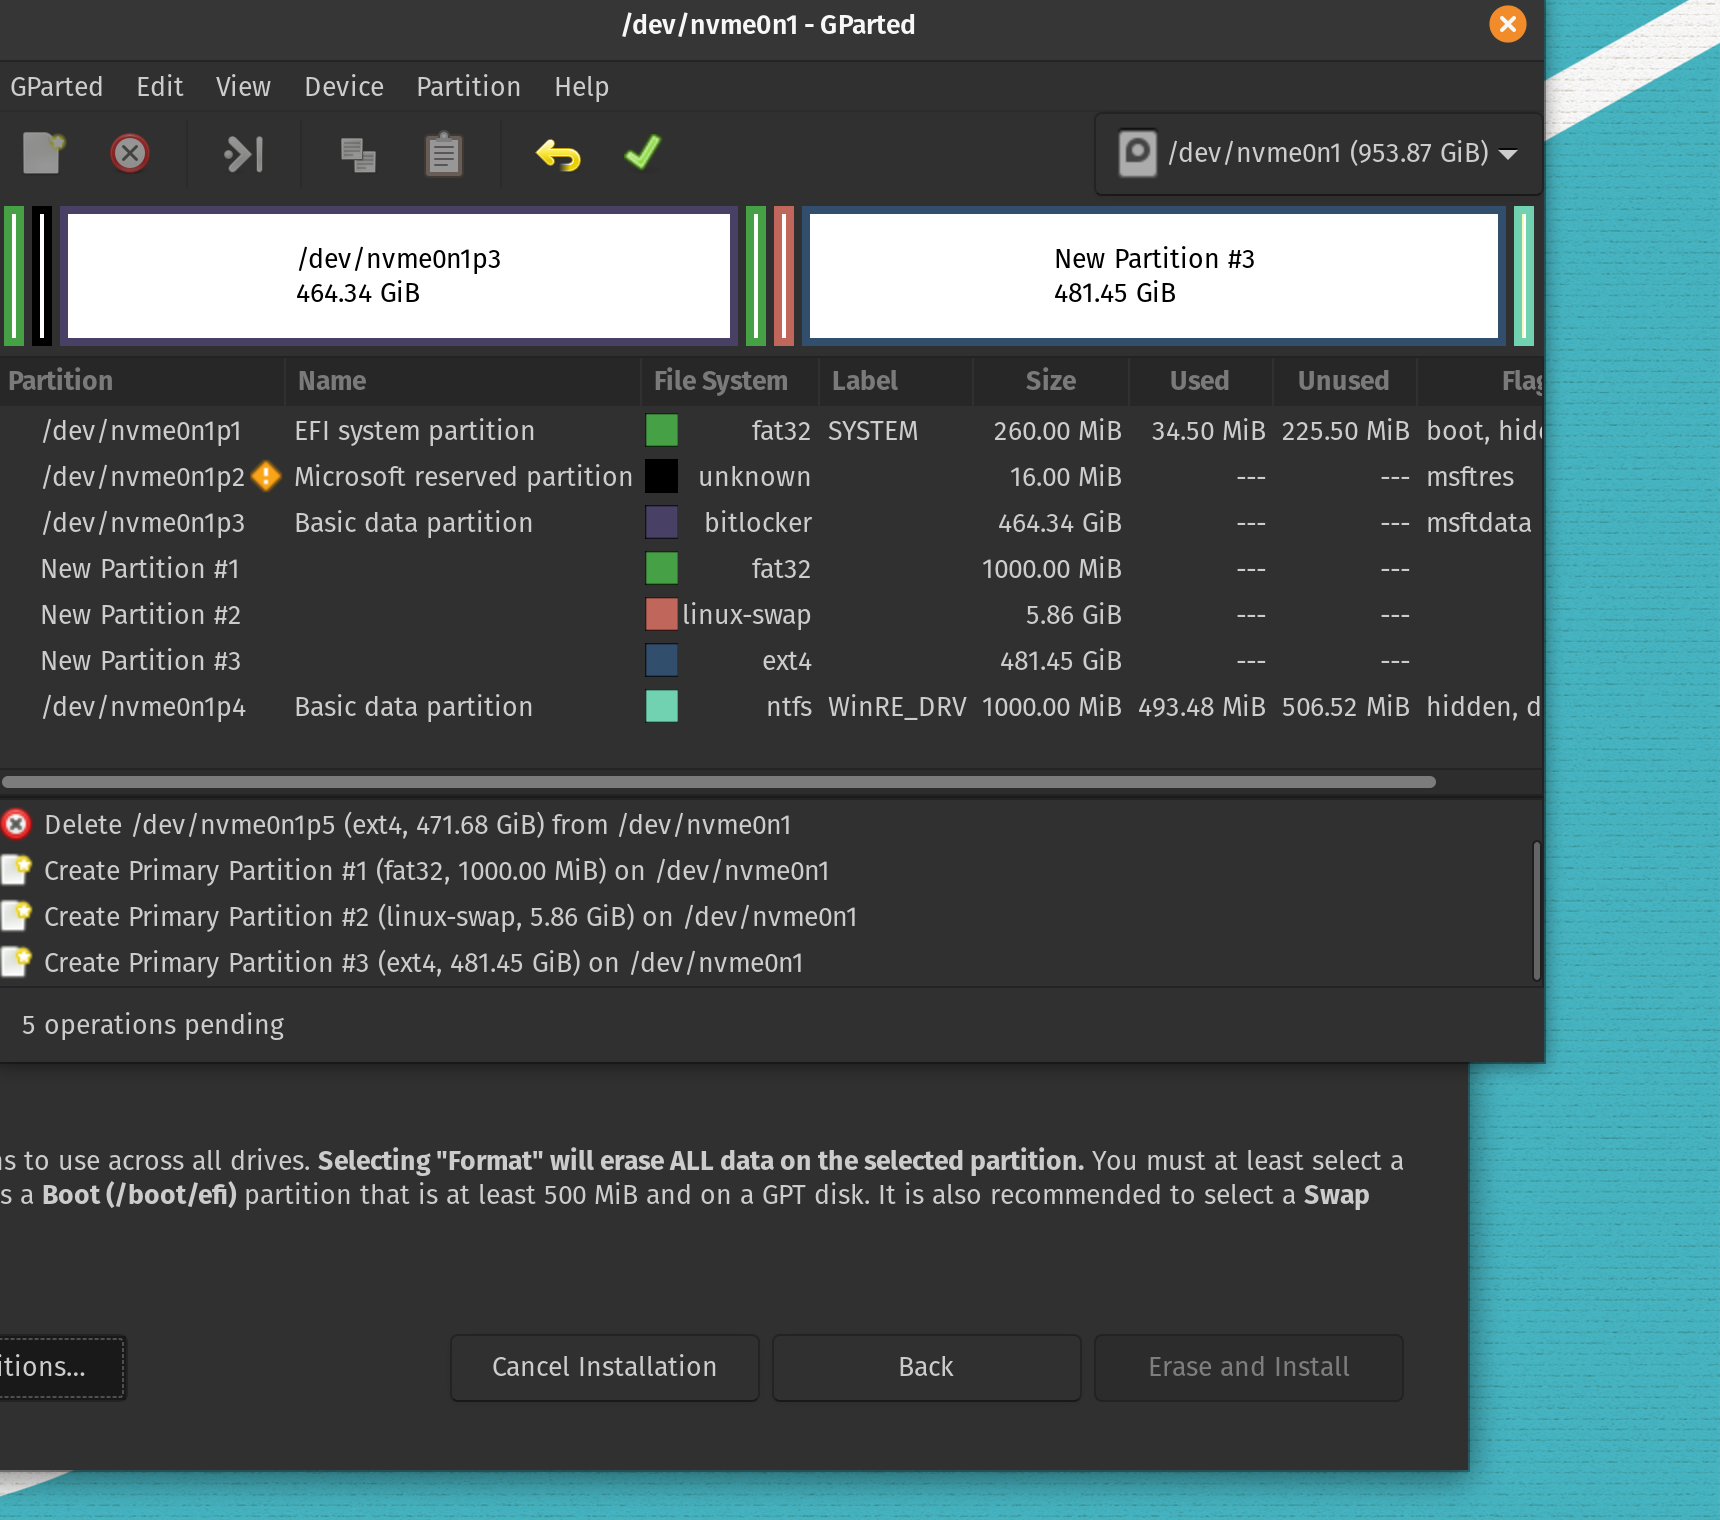
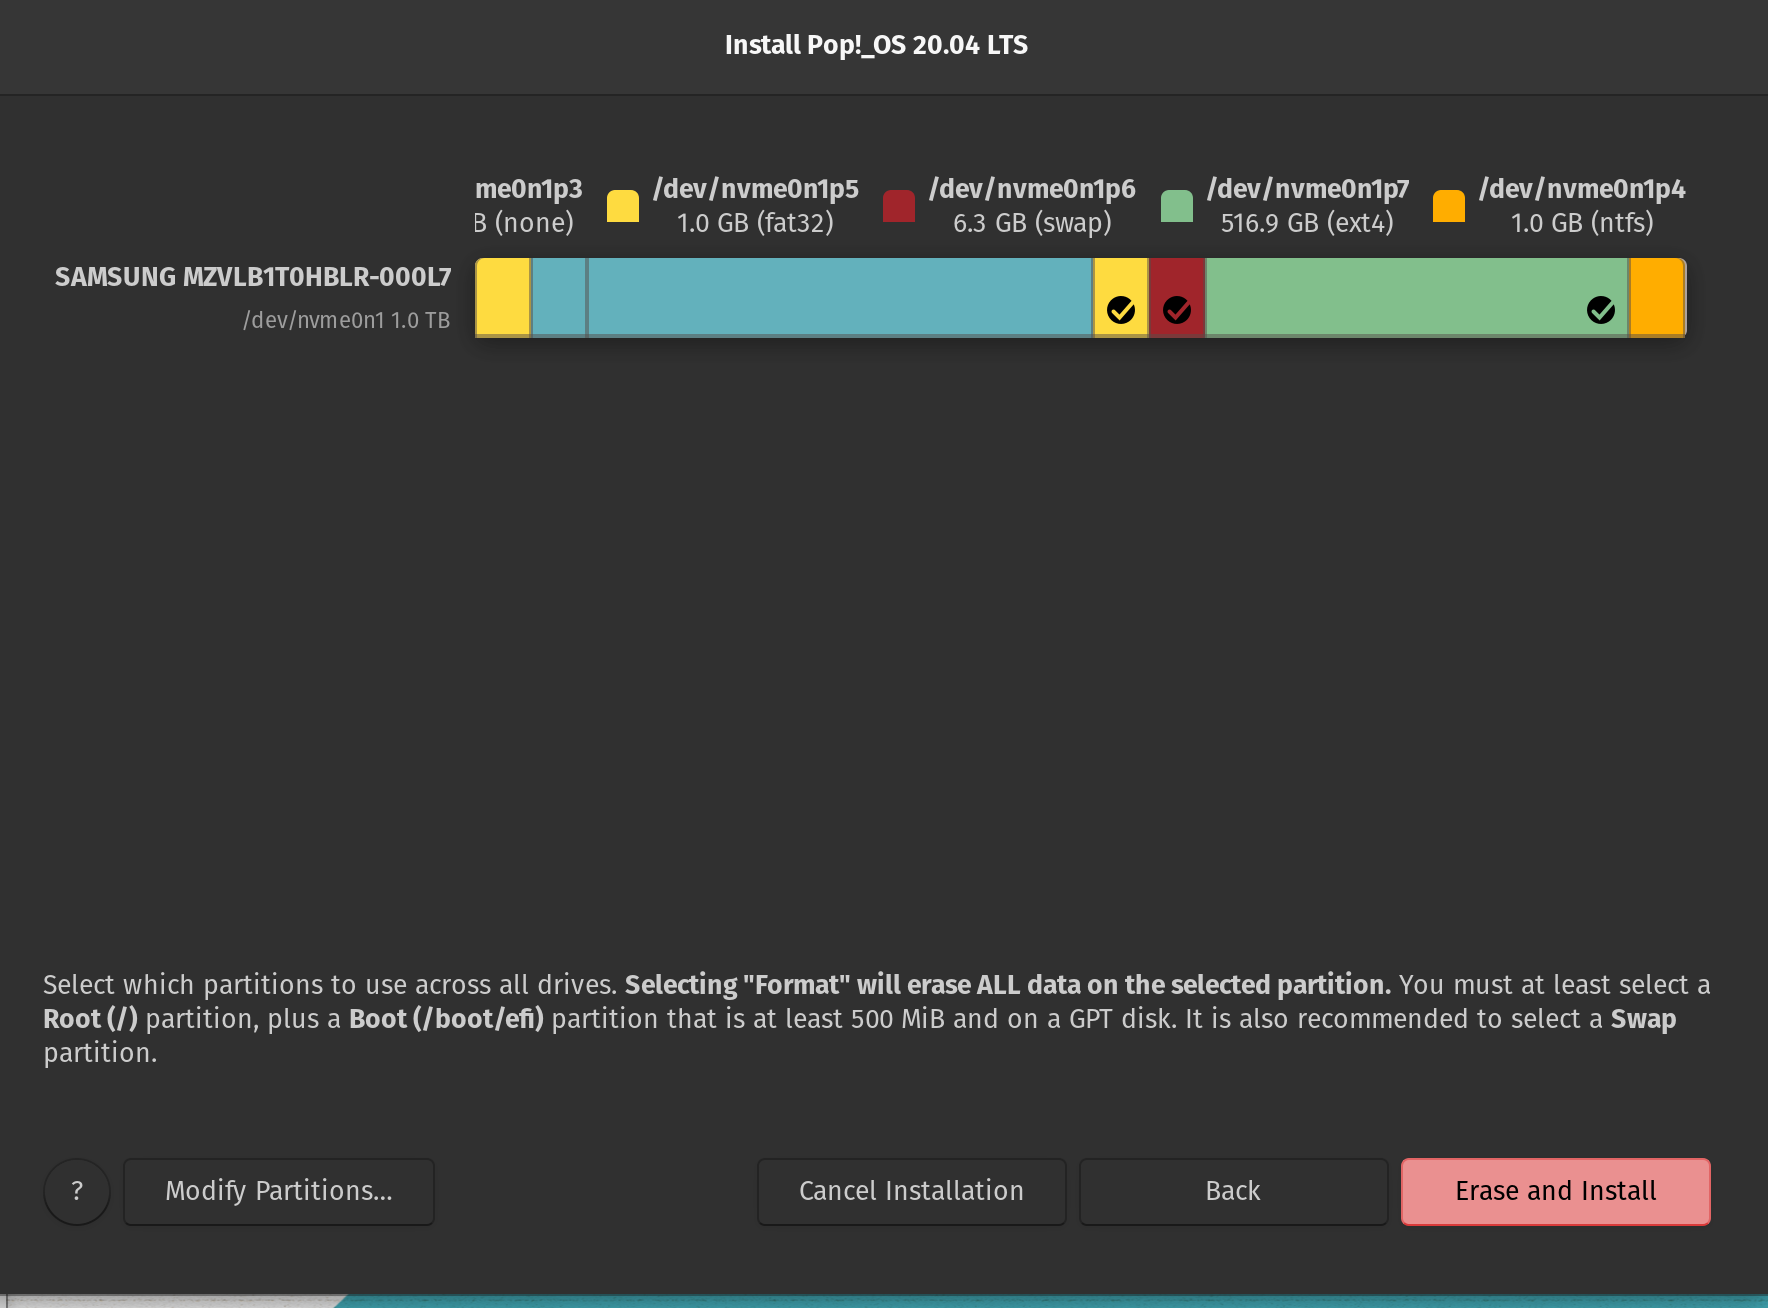
After the keyboard, timezone, language and other easy configs, we can choose to partition the space manually:
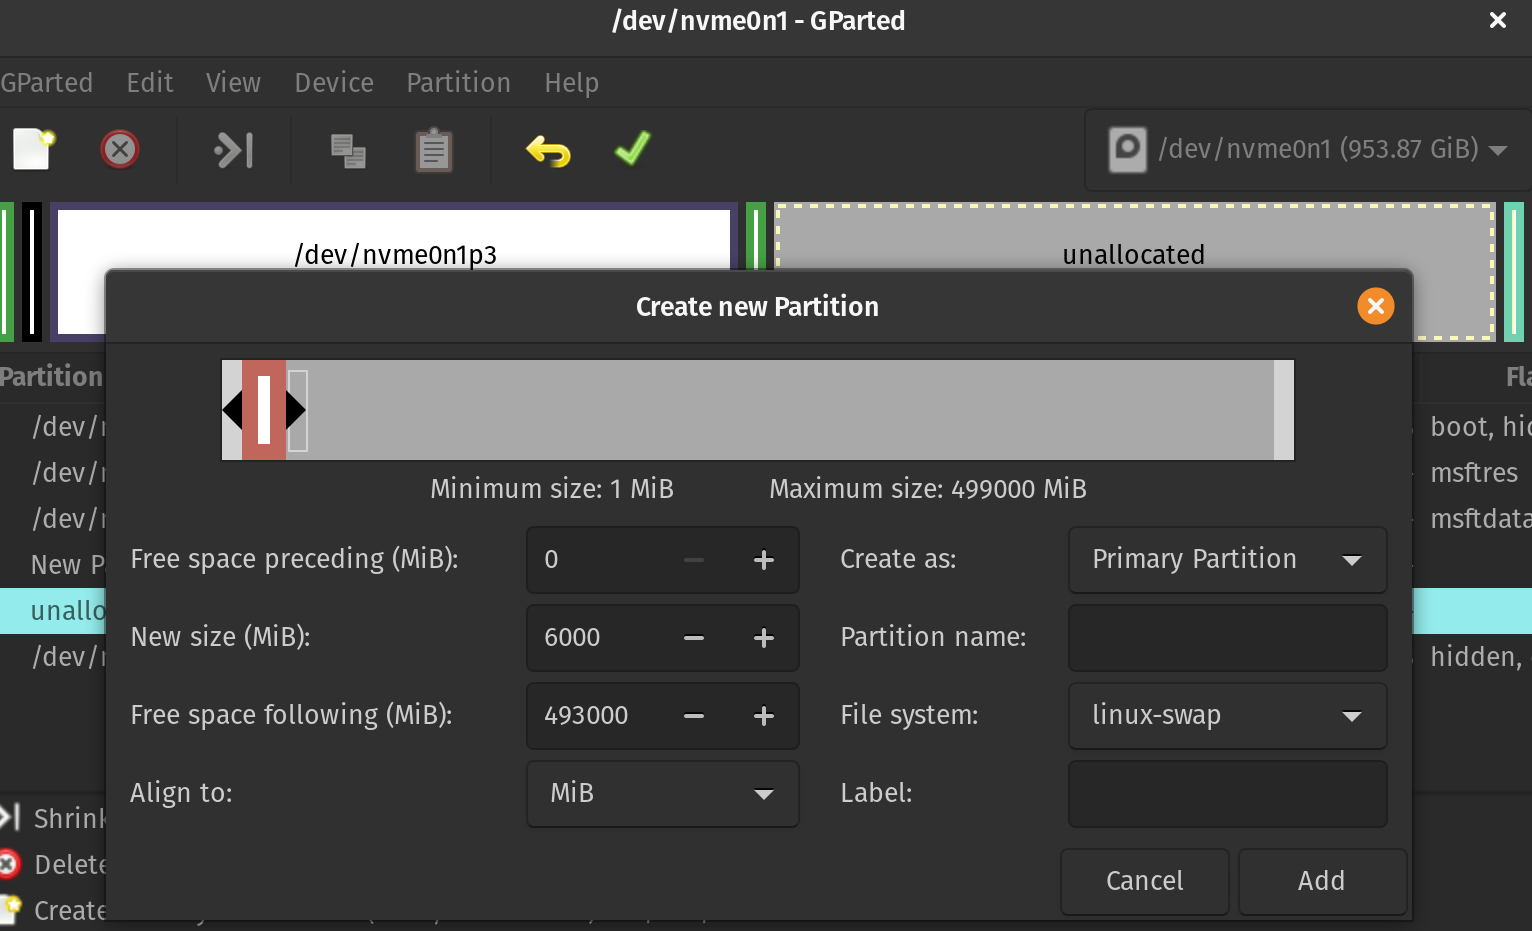
4.1.1. Swap
As shown at the bottom in the GParted menu, it is OPTIONAL to select a swap space. Normally, it is recommended to have double of the RAM size. But for mordern computers, especially those with large RAMS(up to 128 GB), this is not applicable anymore. Since my RAM is 32GB, I went with 6GB of swap. The file system is linux-swap.
Here is an interesting article disussing different options: How Much Swap Should You Use in Linux?
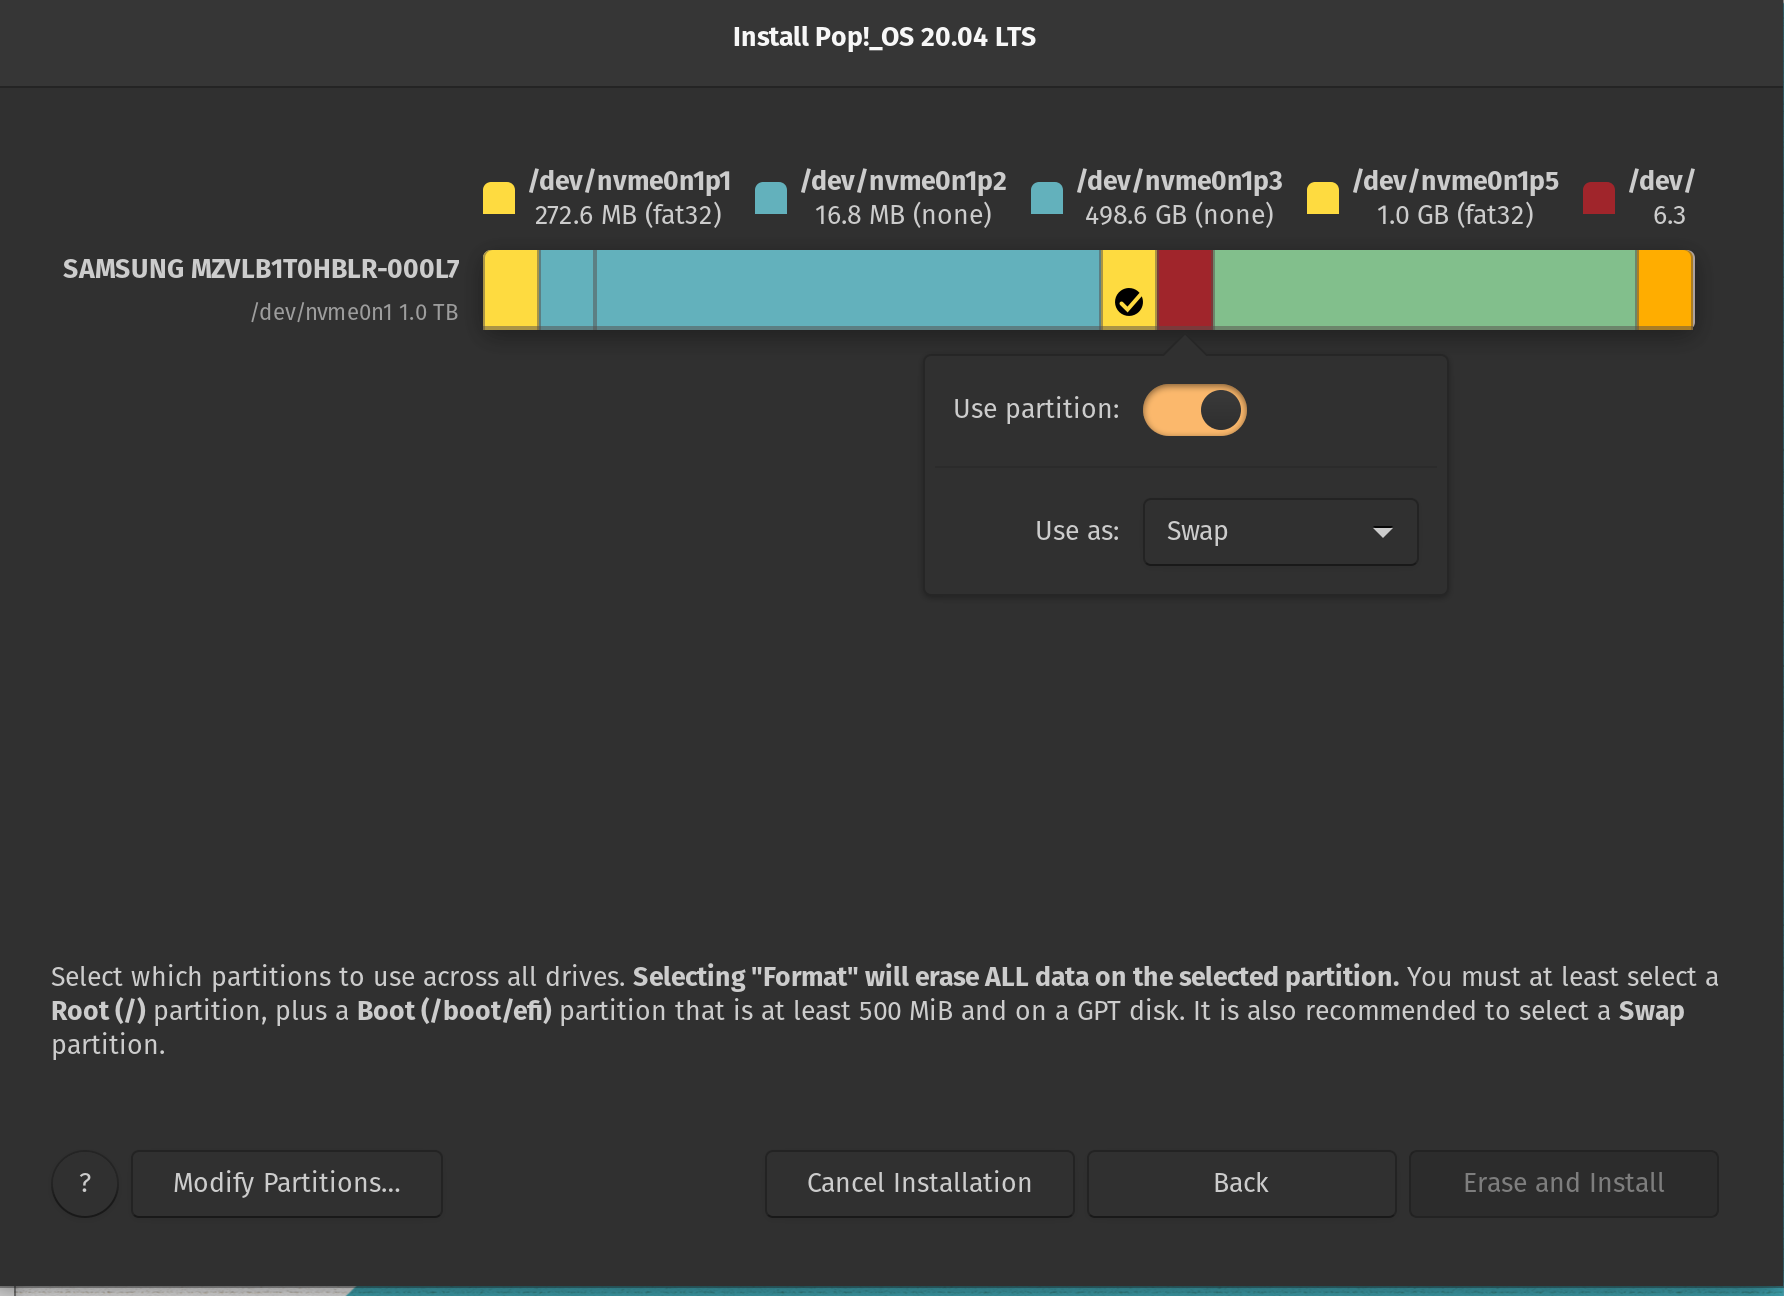
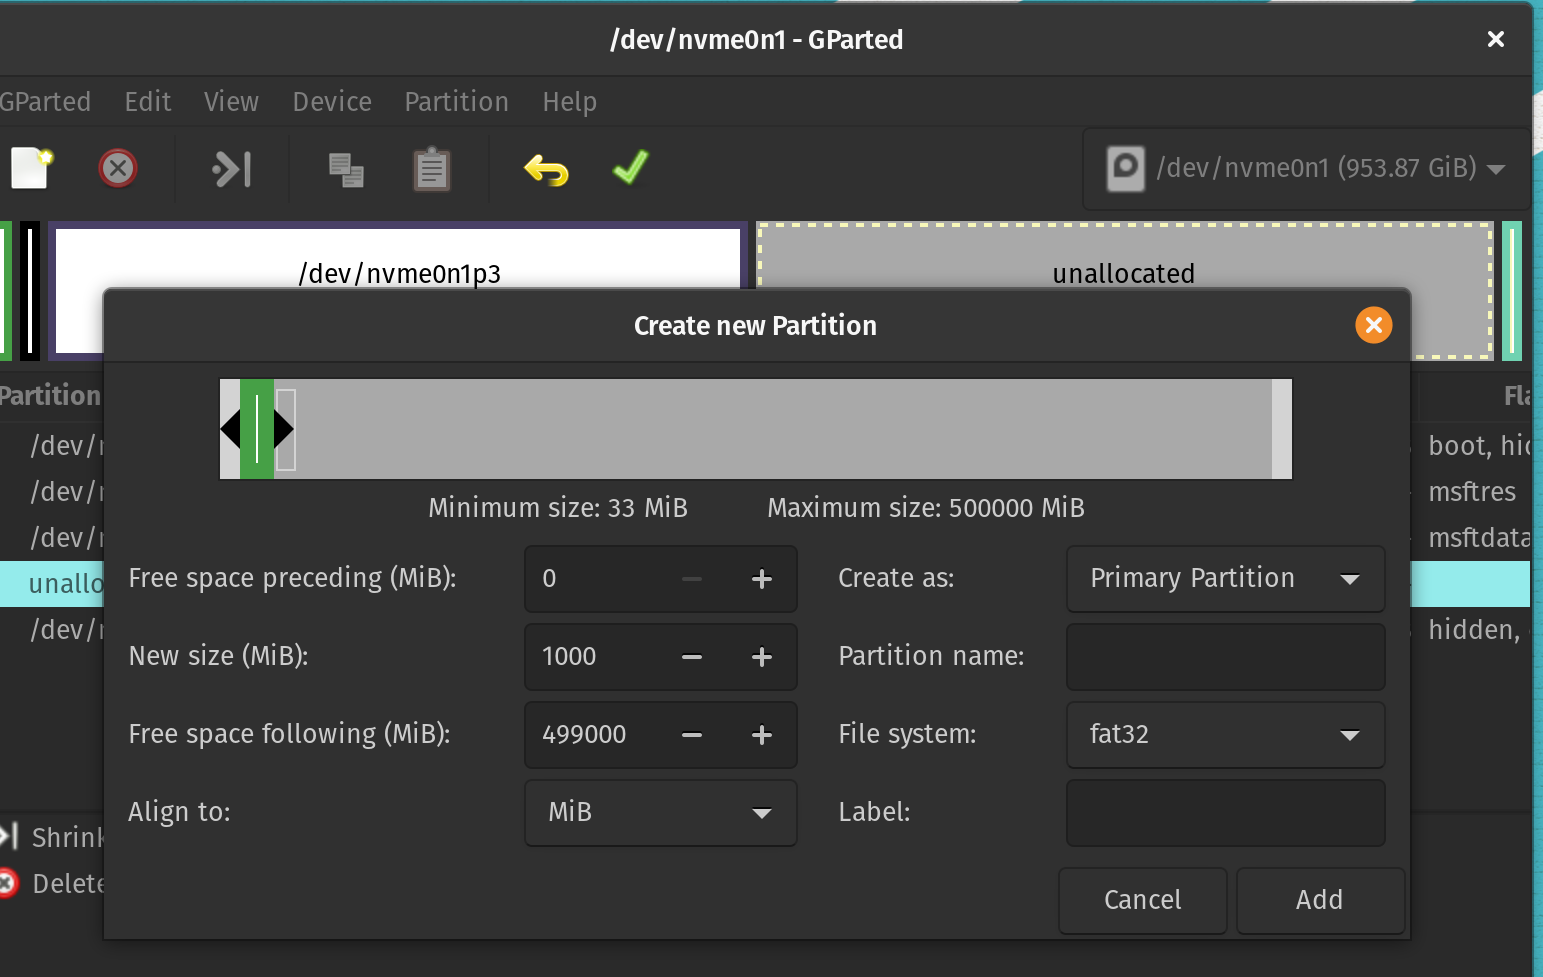
4.1.2. Boot
I went with 1GB of /boot just to be safe. Usually (at least) 512MB should be enough. The file system is fat32.
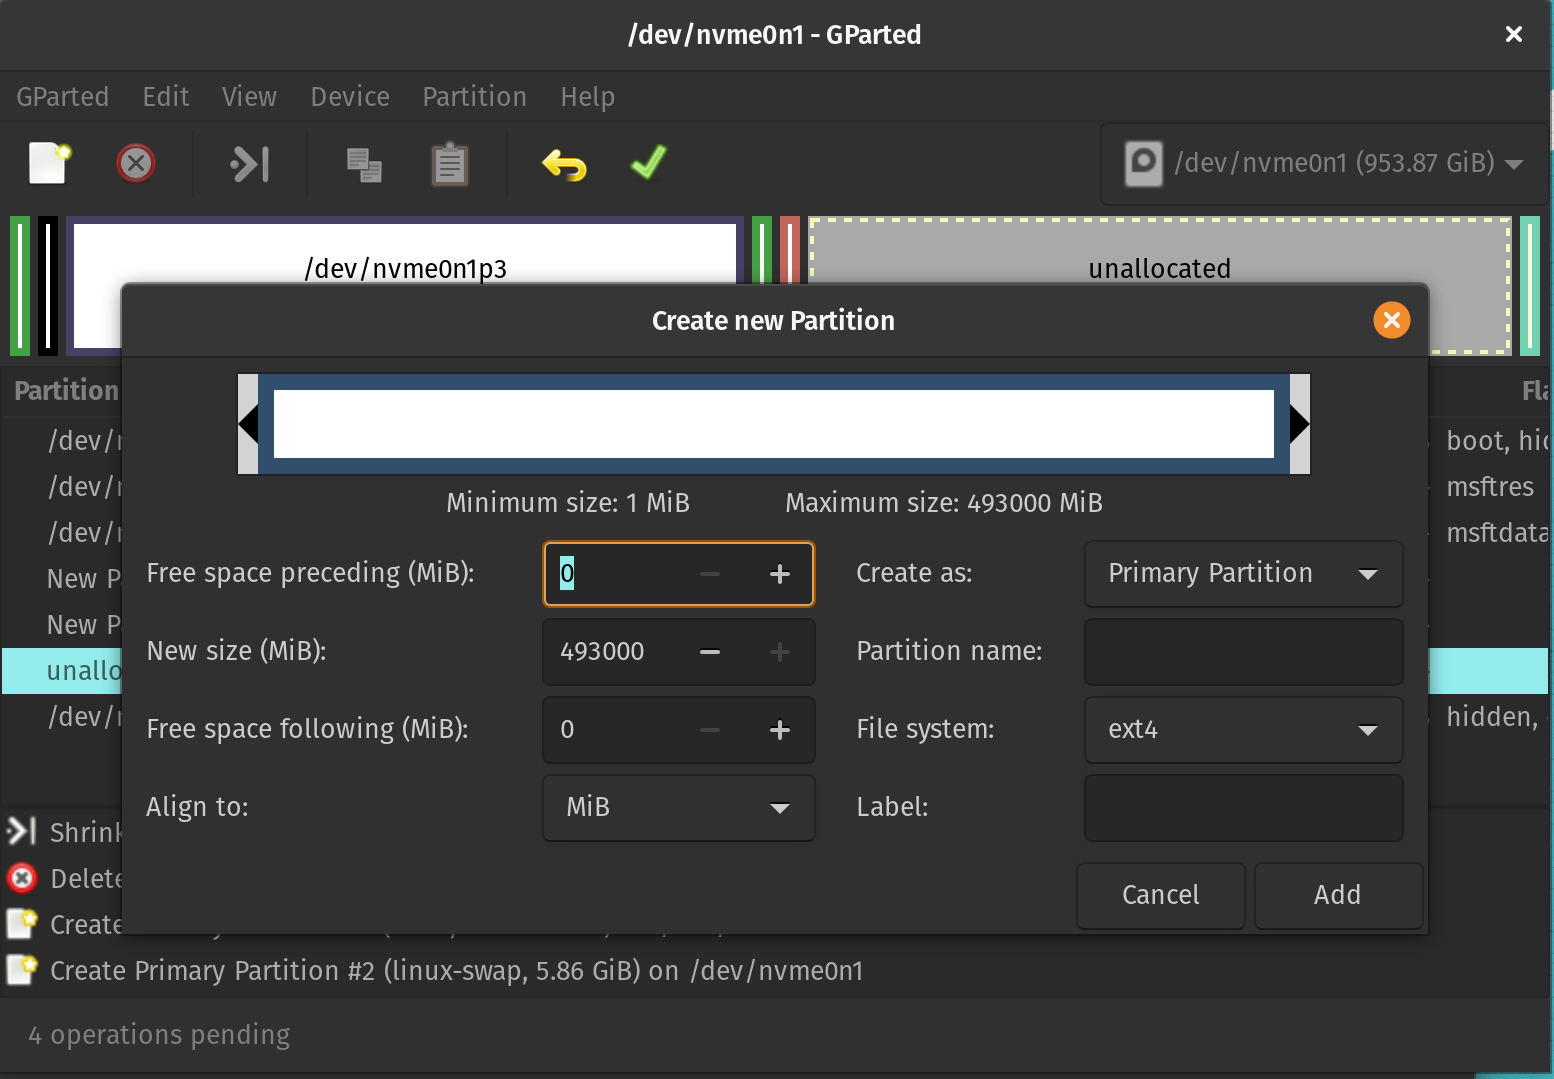
4.1.3. Root
Then we can directly allocate the rest of space for the /root. The file system is ext4.
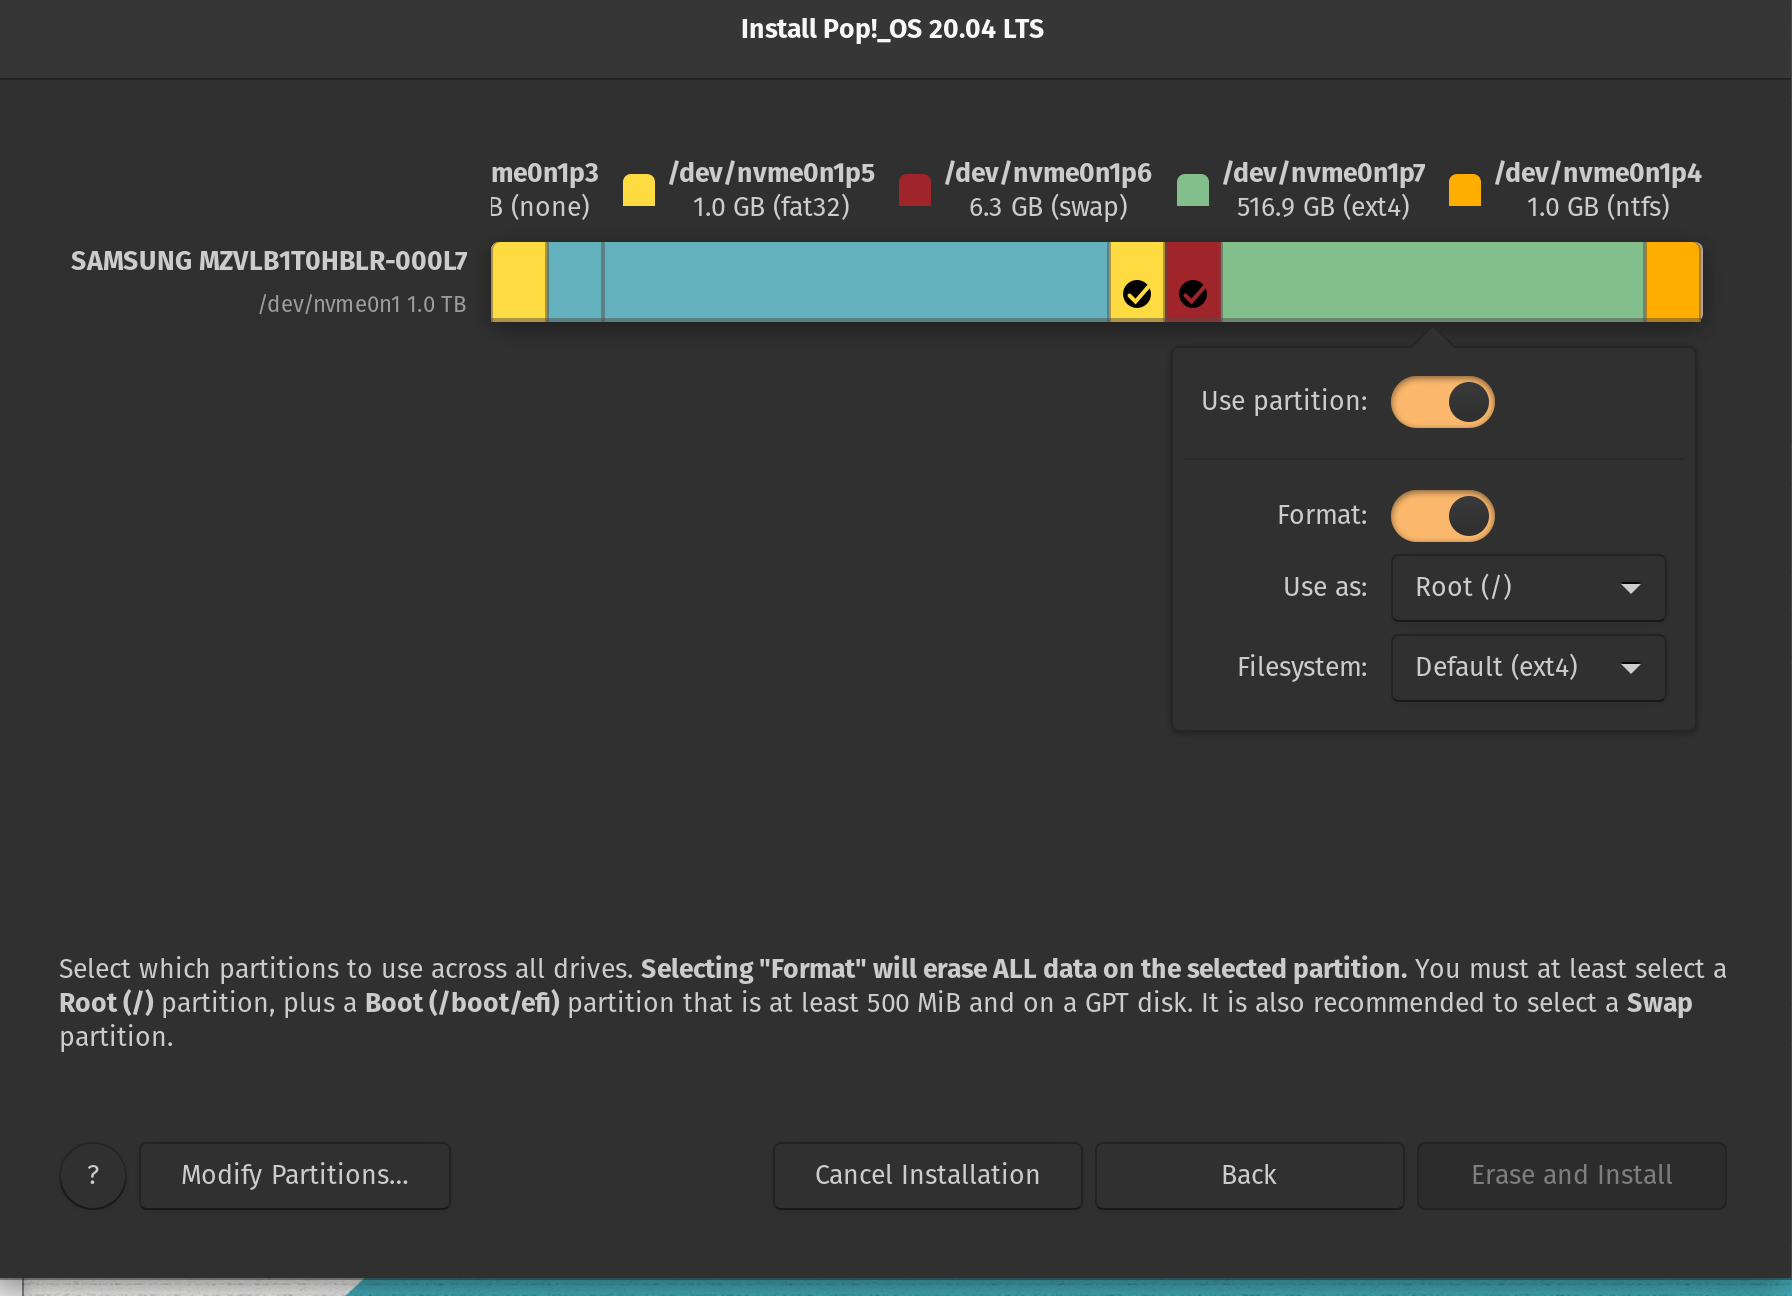
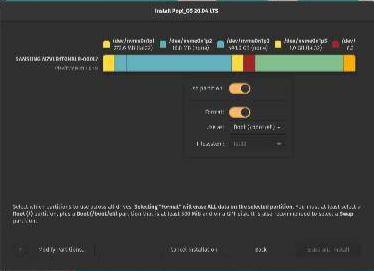
Make sure every partition is correct, then select Erase and Install.
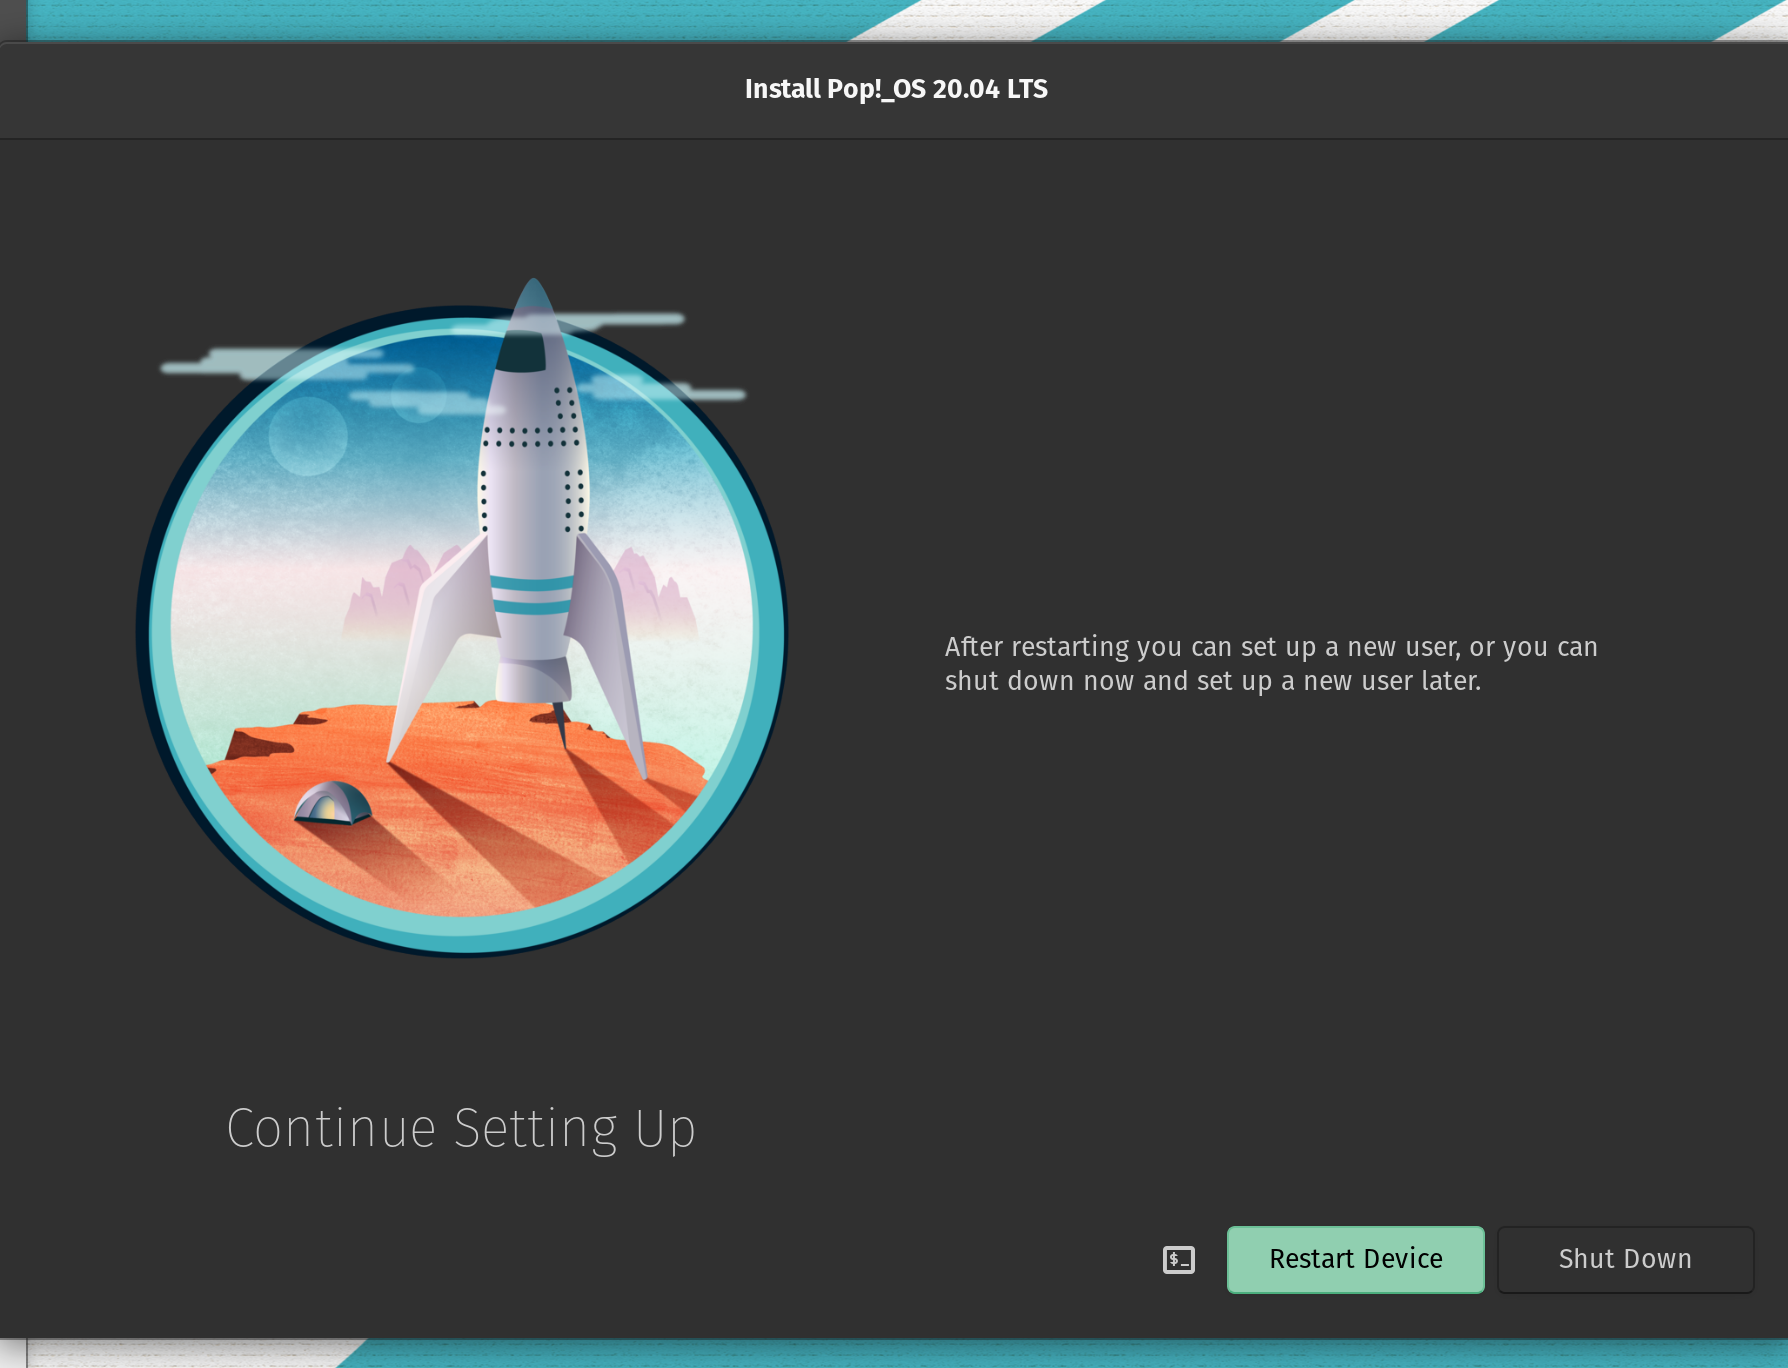
4.2. Install and RESTART!
Then it should take 2 or 3 mins to finish installation. After it’s finished, a prompt window will show up and ask you to restart the device.
Switching between Windows and Pop!_OS
If everything is done correctly, the USB stick can be removed and each restart will boot into Pop!_OS directly. If you wish to use the Windows 10, again, press F12 during restart when the red Lenovo sign shows up and choose the Win10 distro.
Resources
- Create and Use Bootable Media from Other OS’s
- DUAL BOOTING POP! OS ON A THINKPAD X1 EXTREME
- Setting up Pop!_OS
- So I’ve decided to switch to Linux: Day 1
- How to Dual Boot Windows 10 and Pop!_OS
- Dualboot Pop! OS 20.04 linux and Windows 10(2020)
- Pop!_OS 19.10 - Setting up a Dual Boot with Windows 10
- How to Dual Boot Pop!_OS 20.04 LTS and Windows 10
Leave a comment